J-1 Visa Interview: How to Ace Your Embassy Appointment
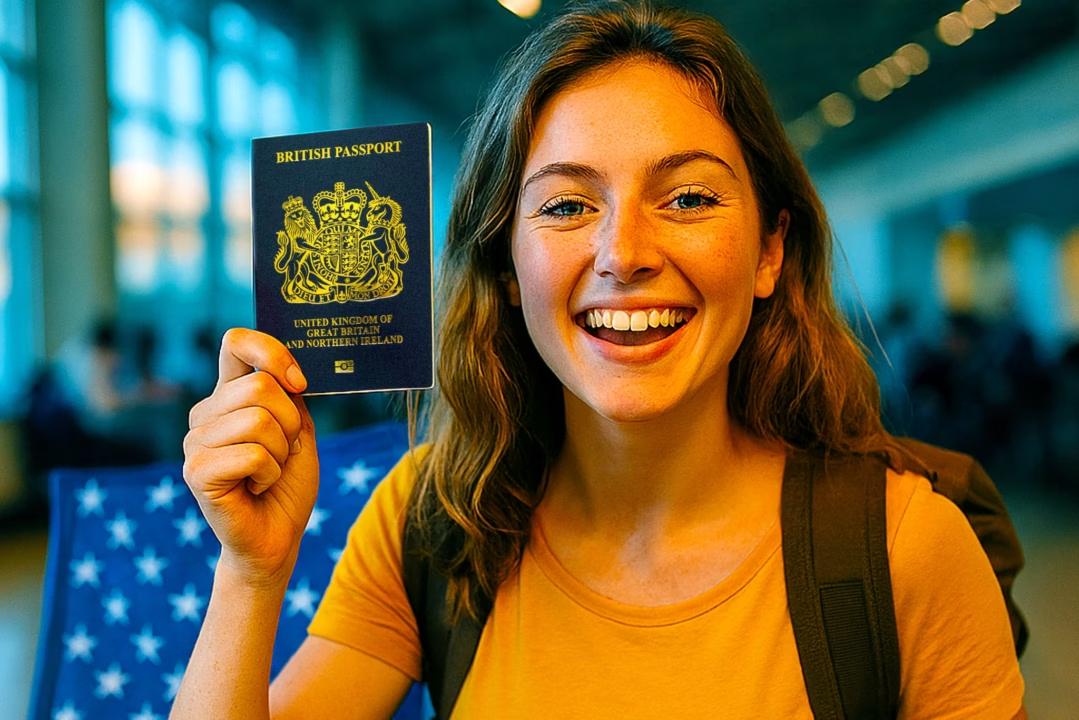
You’ve landed your summer camp placement, your paperwork is in, and now it’s time for the next big step – your J-1 Visa appointment at the U.S. Embassy. It’s normal to feel nervous, but don’t worry – with a bit of preparation, you’ll be totally ready to ace your interview and get that all-important visa stamped in your passport.
Here’s everything you need to know to feel confident and prepared for the day.
Quick links
- What is a J-1 Visa and why do you need one?
- Step 1: Complete your DS-160 form
- Step 2: Book your embassy appointment
- Step 3: Prepare your documents
- What to expect at the embassy
- What to wear
- What not to bring
- After your appointment
- Final tips to ace your J-1 Visa interview
- You’ve got this!
What is a J-1 Visa and why do you need one?
The J-1 Visa is a cultural exchange visa that allows you to work in the U.S. on programmes like summer camp. Without it, you won’t be able to enter America for your placement. Think of it as your official golden ticket to the States!
Step 1: Complete your DS-160 form
Before you can book your embassy appointment, you’ll need to fill out your DS-160 online application form which will be provided by us.
- Set aside at least an hour to complete it – it’s a long form.
- Save your application ID and keep a copy of your confirmation page.
- You’ll need this confirmation when you attend your appointment.
Top Tip: Don’t leave this until the last minute – the embassy website can sometimes crash. Always make a note of your reference number in case you need to log back in.
Step 2: Book your embassy appointment
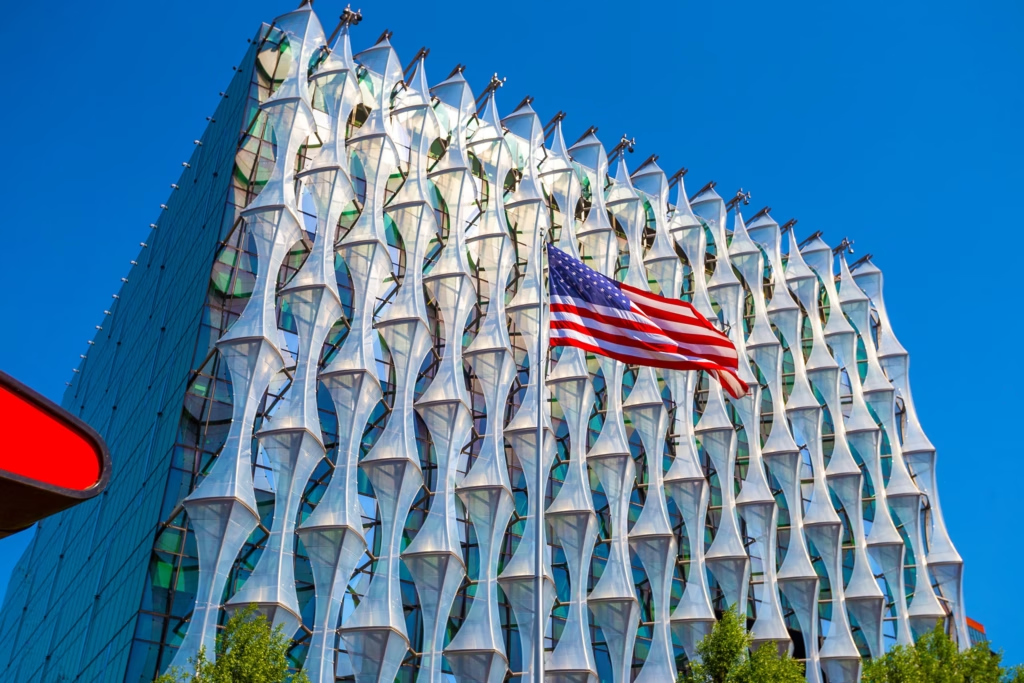
Once your DS-160 is submitted, you can schedule your appointment at either the U.S. Embassy in London, or the Consulate in Belfast (depending on where you live).
- You’ll pay your visa fee when booking.
- Appointments can fill up quickly, so book early for the best times.
- Allow plenty of time on the day – sometimes you’ll be in the embassy for several hours.
Step 3: Prepare your documents
This is one of the most important steps – make sure you have everything ready in advance. Here’s your embassy checklist:
- Valid passport
- DS-160 confirmation page (with barcode)
- SEVIS receipt (I-901 form)
- DS-2019 form (sent to you before the interview)
- Visa appointment instructions (you’ll receive this when you book)
- A U.S. visa-style passport photo
- Evidence that you’ll return home (student ID, proof of studies, work commitment, etc.). Do not rely on one type of evidence. Present a mix of documents to demonstrate compelling ties.
Pro Tip: Triple-check your documents the night before so you’re not stressing on the morning of your appointment.
What to expect at the embassy
Walking into the embassy can feel intimidating, but it’s really straightforward. Here’s how it usually goes:
- Security check: Just like at an airport. Avoid bringing food, aerosols, or large bags.
- First window: Staff check your documents and DS-160.
- Interview window: A short chat with an officer about your plans. They might ask about:
- Where you’ll be working (your camp details)
- What you’ll be doing at camp
- If you’ve visited the U.S. before
It’s usually very relaxed – just be friendly, honest, and clear with your answers.
What to wear
No need to dress up like it’s a job interview. Aim for smart casual: jeans, a nice top, and trainers are totally fine. Just look tidy and presentable.
What not to bring
Keep your bag light! Prohibited items include:
- Laptops and large bags
- Food and drinks
- Aerosols, nail clippers, or sharp items
Phones and small tablets are usually fine, but the embassy won’t store your belongings – so travel light.
After your appointment
If all your paperwork is in order, the officer will keep your passport while your visa is processed.
- Passports are usually returned within 7–10 working days.
- Don’t plan any international travel during this time!
- You’ll get your passport back with your shiny new visa inside – that’s when it’s official.
Final tips to ace your J-1 Visa interview
- Arrive early (at least 15 minutes before your appointment).
- Be polite and confident – embassy staff are used to J-1 applicants.
- Don’t overthink it – the process is much more relaxed than most people expect.
- Do not volunteer documents. Wait for the consular officer to ask for specific evidence. Have your documents organised so you can quickly present them.
- Prepare a convincing narrative. Be ready to explain your specific reasons for returning, such as how the skills gained will benefit your career or how you will use them in your home country.
- Be honest and consistent. Inconsistencies or lies can lead to immediate visa denial.
- Be direct and calm. Answer questions clearly and respectfully, even if the interview feels short.
- Remember: this is the last big step before your summer of a lifetime!
You’ve got this!
Getting your J-1 Visa is a big milestone, but it’s nothing to fear. With your documents prepared and our tips in hand, you’ll breeze through your embassy appointment and be one step closer to the adventure of a lifetime at camp.
Your Free J-1 Visa Interview Checklist
We know preparing for your embassy appointment can feel a little overwhelming – that’s why we’ve created a free J-1 Visa Interview Checklist just for you! This handy PDF covers everything you need to bring and remember for the big day, so you can stay organised and confident.
Download your checklist and keep it saved on your phone or printed out for peace of mind.


