Visa appointment guide


J-1 Visa: How to Ace Your Appointment
Your step-by-step survival guide for the US Embassy
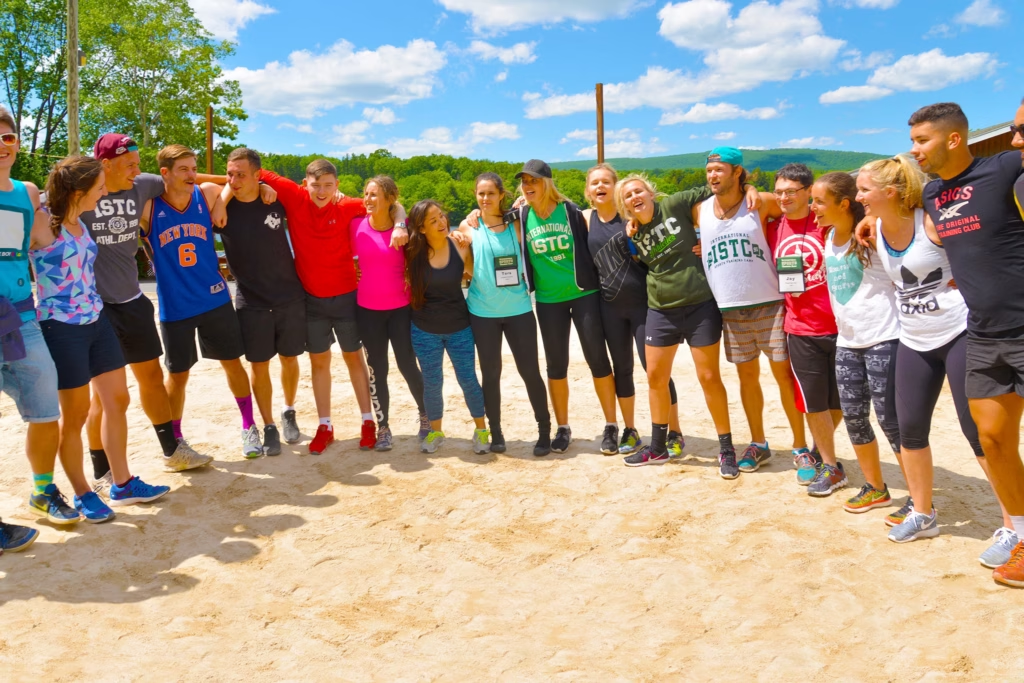
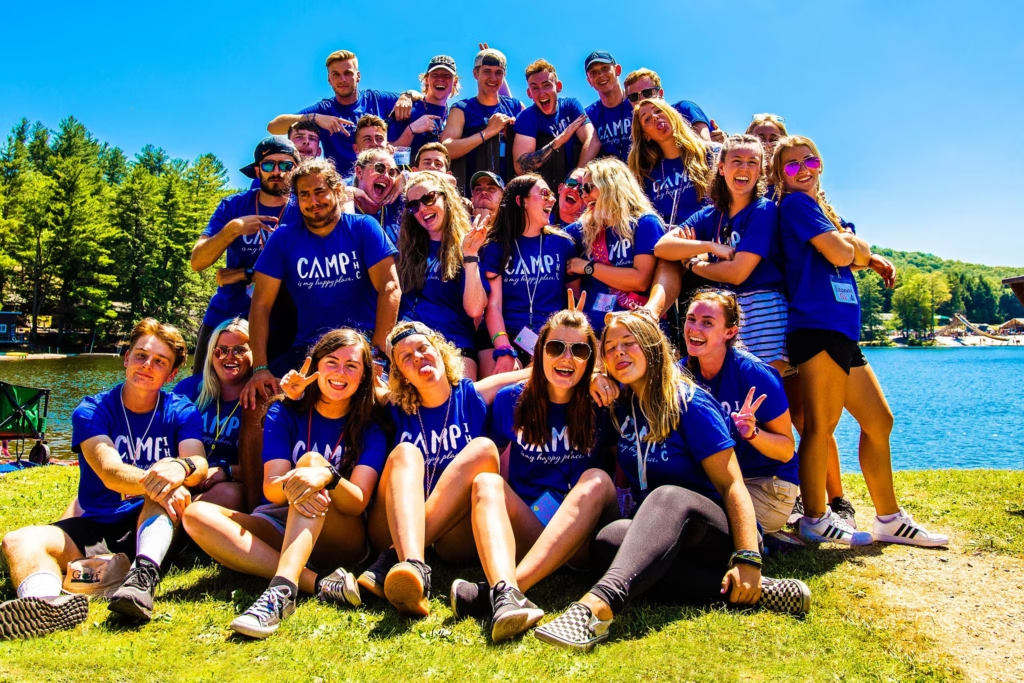
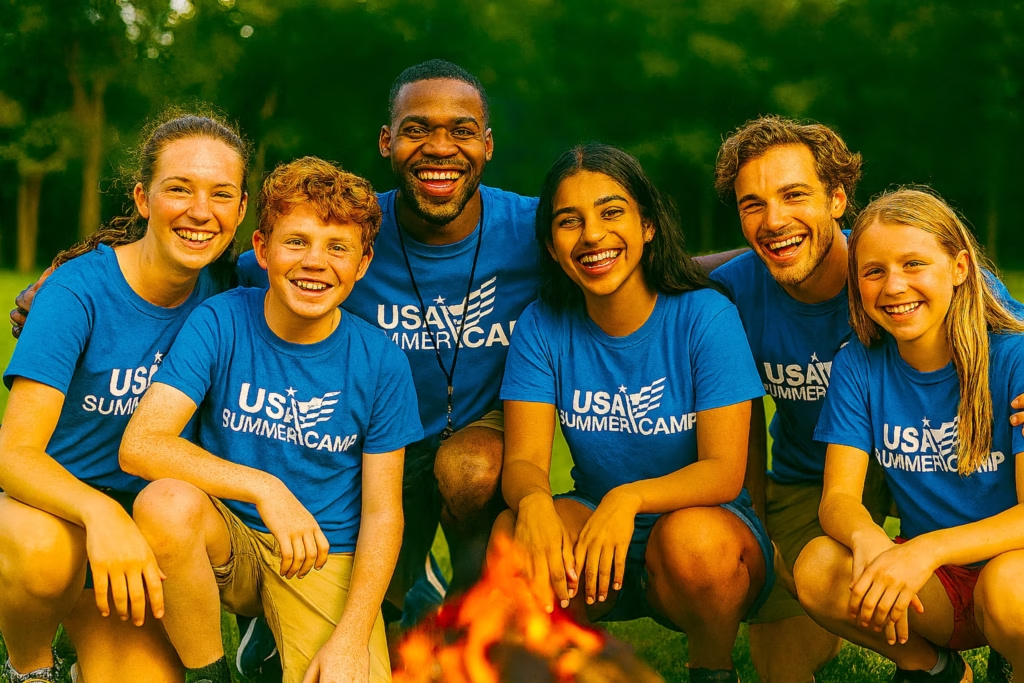
So, you’ve bagged your dream job at Summer Camp – amazing! With your paperwork uploaded and your excitement building, there’s just one important step standing between you and your American adventure: your J-1 Visa appointment.
The J-1 Visa might sound intimidating, but we’ve helped thousands of applicants through the process – and we’re here to do the same for you. From DS-160 forms to SEVIS receipts, this guide will walk you through everything you need to know to breeze through your visa interview like a pro.
Quick links
- What Is a J-1 Visa?
- What to Expect at the Embassy
- What Should I Wear?
- You’ve Got This!
- Your Step-by-Step J-1 Visa Guide
- Step 1: Check & Sign Your DS-2019 Form
- Step 2: Complete the DS-160 Online Form
- Step 3: Pay Your SEVIS Fee
- Step 4: Book Your Embassy Appointment
- Step 5: Attend Your Visa Interview
- Important Things to Remember
- Need Help?
What Is a J-1 Visa?
The J-1 Visa is a cultural exchange visa that allows you to work and travel in the USA. It’s essential for anyone working at Summer Camp, so without it – you’re not going anywhere! Once approved, your J-1 Visa gives you access to the best summer of your life, complete with 30 days to travel after camp ends.
Once your DS-2019 form has been issued (this comes from us), the visa section on your USA Summer Camp profile will unlock. Inside, you’ll find a full set of step-by-step guides that explain every stage of the application process – from completing your DS-160 form to booking your US Embassy appointment.
Make sure you follow each step carefully and don’t skip ahead – you’ll save yourself time, stress, and a potential reschedule!
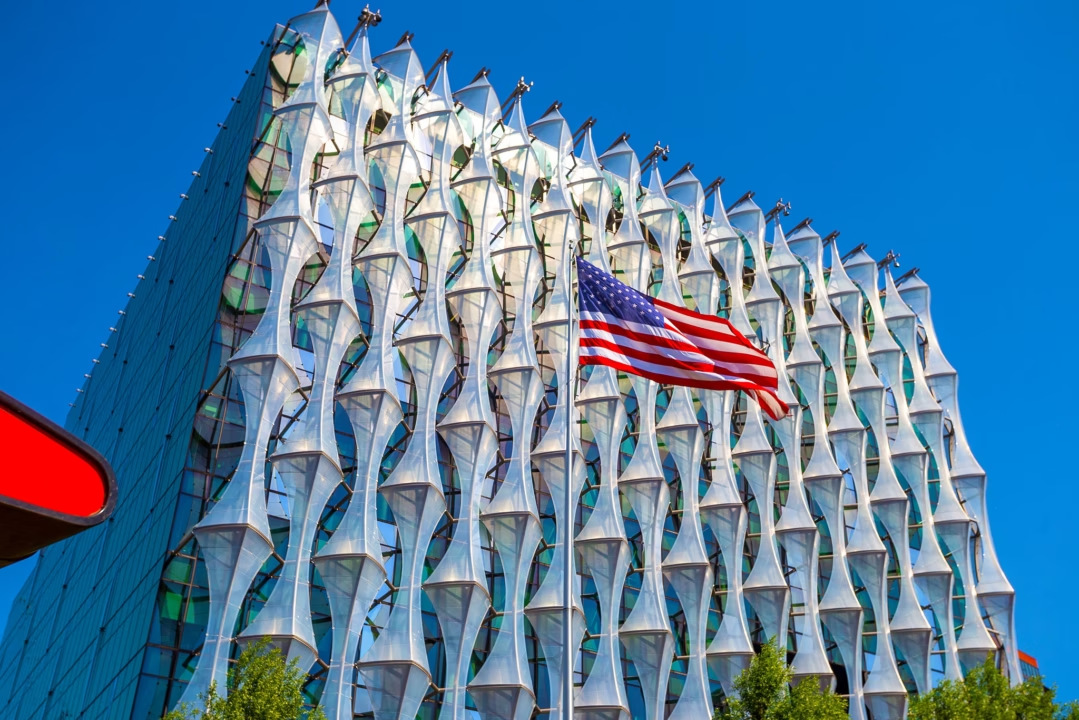
What to Expect at the Embassy
Heading to the embassy? Here’s how your day will look:
- Arrive early – We recommend showing up 15–30 minutes before your appointment time.
- Security checks – Think airport vibes. No aerosols, food, or unnecessary items.
- Initial check – At the first window, your documents and DS-160 form will be reviewed.
- Interview time – You’ll be asked a few questions about yourself, your summer job, and your travel plans.
Top tip: Be honest, smile, and speak clearly. The consular officers are friendly and just want to confirm your plans.
What Should I Wear?
Good news – there’s no need to dress in a suit! Just skip the joggers and make sure you look clean, casual, and presentable. Treat it like a casual job interview.
You’ve Got This!
Feeling nervous? Totally normal. But remember, thousands of applicants go through this process every year—and come out smiling with their J-1 Visas in hand. Follow the steps, be prepared, and keep your eyes on the prize: an unforgettable summer in America.
Need help? Our team is only a phone call or message away. We’ve got your back every step of the way.
Your Step-by-Step J-1 Visa Guide
Getting your J-1 visa sorted is a big step in your USA Summer Camp journey — but don’t worry, we’ve got your back. Here’s everything you need to know, in five simple steps.
Step 1: Check & Sign Your DS-2019 Form
This is your official document that proves you’re eligible for a J-1 visa.
- Print it out as soon as you receive it.
- Double-check that your name, date of birth, and nationality match your passport exactly.
- Sign it at the bottom — you can’t attend the embassy interview without this.
Spot a mistake? Contact us right away. If the error is due to a mistake or typo you made on your application (which is used to generate the DS-2019), a reissue fee will apply to correct the form.
Step 2: Complete the DS-160 Online Form
This is your official visa application form.
- Fill it out online at ceac.state.gov/genniv
- Save your Application ID (starts with AA…) — you’ll need this for the next steps.
- Make sure you:
- Select J-1 Exchange Visitor as your visa type.
- Use your camp address (or placeholder if not assigned).
Tip: Passport photos must be U.S sized (2 x 2 inches). Most photo booths will provide both hard copies and electronic copies of your photos. Use the electronic copy for your DS-160 application.
Step 3: Print your SEVIS Receipt
This fee covers your participation in the exchange visitor programme.
- Go to fmjfee.com and print off your SEVIS Receipt.
- You’ll need the SEVIS number from your DS-2019 form (starts with N00…).
- Print the confirmation receipt — you’ll need this for your interview.
Step 4: Book Your Embassy Appointment
Time to get that interview in the diary!
- Head to ais.usvisa-info.com to create an account and book your appointment.
- Select your home country and follow the steps to:
- Pay the visa fee (around $185 – varies slightly by country).
- Choose a time slot that works for you for the nearest available day.
- Decide if you want to pick up your passport at a collection depot or pay the extra fee to have your passport delivered to your home address
Appointments are in person at your nearest US embassy or consulate.
Step 5: Attend Your Visa Interview
Almost there!
- Bring the following with you:
- Passport (valid for at least 6 months beyond your return date)
- DS-2019 form (printed & signed)
- DS-160 confirmation page
- SEVIS fee receipt
- Embassy appointment confirmation
- A printed U.S sized passport-style photo
- Proof of ties (evidence that you intend to leave the U.S. after your cultural exchange programme ends)
At the interview:
- Be honest and confident — they just want to check your plans.
- You’ll likely be asked what you’re doing in the US and where you’ll be staying.
Important Things to Remember
- Don’t book flights until your visa is approved and your passport is returned.
- You can’t enter the US before April 1st on a J-1 visa.
- Your passport will be taken during the interview and returned with your visa inside — allow up to 10 working days for this.
- If you hold dual nationality, have a criminal caution or visa denial in your past — get in touch with us before booking your appointment.
Need Help?
If you’re unsure about any part of the process, just reach out. We’re here to support you every step of the way.